
Hello All,
Finally, I am here with the long-promised tutorial! I apologize for having taken forever for it, but it really was a crazy busy time! This is also my entry to the "secret lady's challenge" :-)
In India, we have a tradition of lighting a lamp before all auspicious occasions, as a mark of banishing darkness and inviting the light of wisdom. With the festival of lights (Deepavali) approaching, the festive spirit was bound to catch up with me too! :-) And I had been toying with the idea of writing a tutorial for an eternity! So, here goes.......a panchmukhi diya (light in all directions) tutorial
Choose a piece of cardboard for the base. I have used a 500 gsm carton paper base, cut into a circle

I prefer to have my 3D pieces 'encased' properly, you can decide if that is what you need. I have used the top part of disposable plastic wineglasses (I don't drink anyway, hehehe) as the casing. The circumference of the wineglass served as a measure for cutting the base.
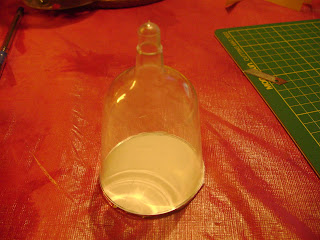
This is how the top part of the wineglass looks, like a bell jar.

Now, I wanted a rich background, so I've chosen an embossed gold paper for covering. The colours from Diwali in India are RICH, hence the gold :-)

Stick the circular base to the back of the paper (it's once sided gold paper).

Cut a circle, leaving about an inch of margin around the base.

Now make radial cuts, all along the circumference of the base carton.

Apply glue to them and start folding them in.

This is how it will look after you start folding them up.....

More than half done!

After the folding is over, stick a paper on top to keep all the folds in place. I haven't done a particularly good job here but I don't have a circle cutter or circle punch! (I think, I need to buy one soon!).

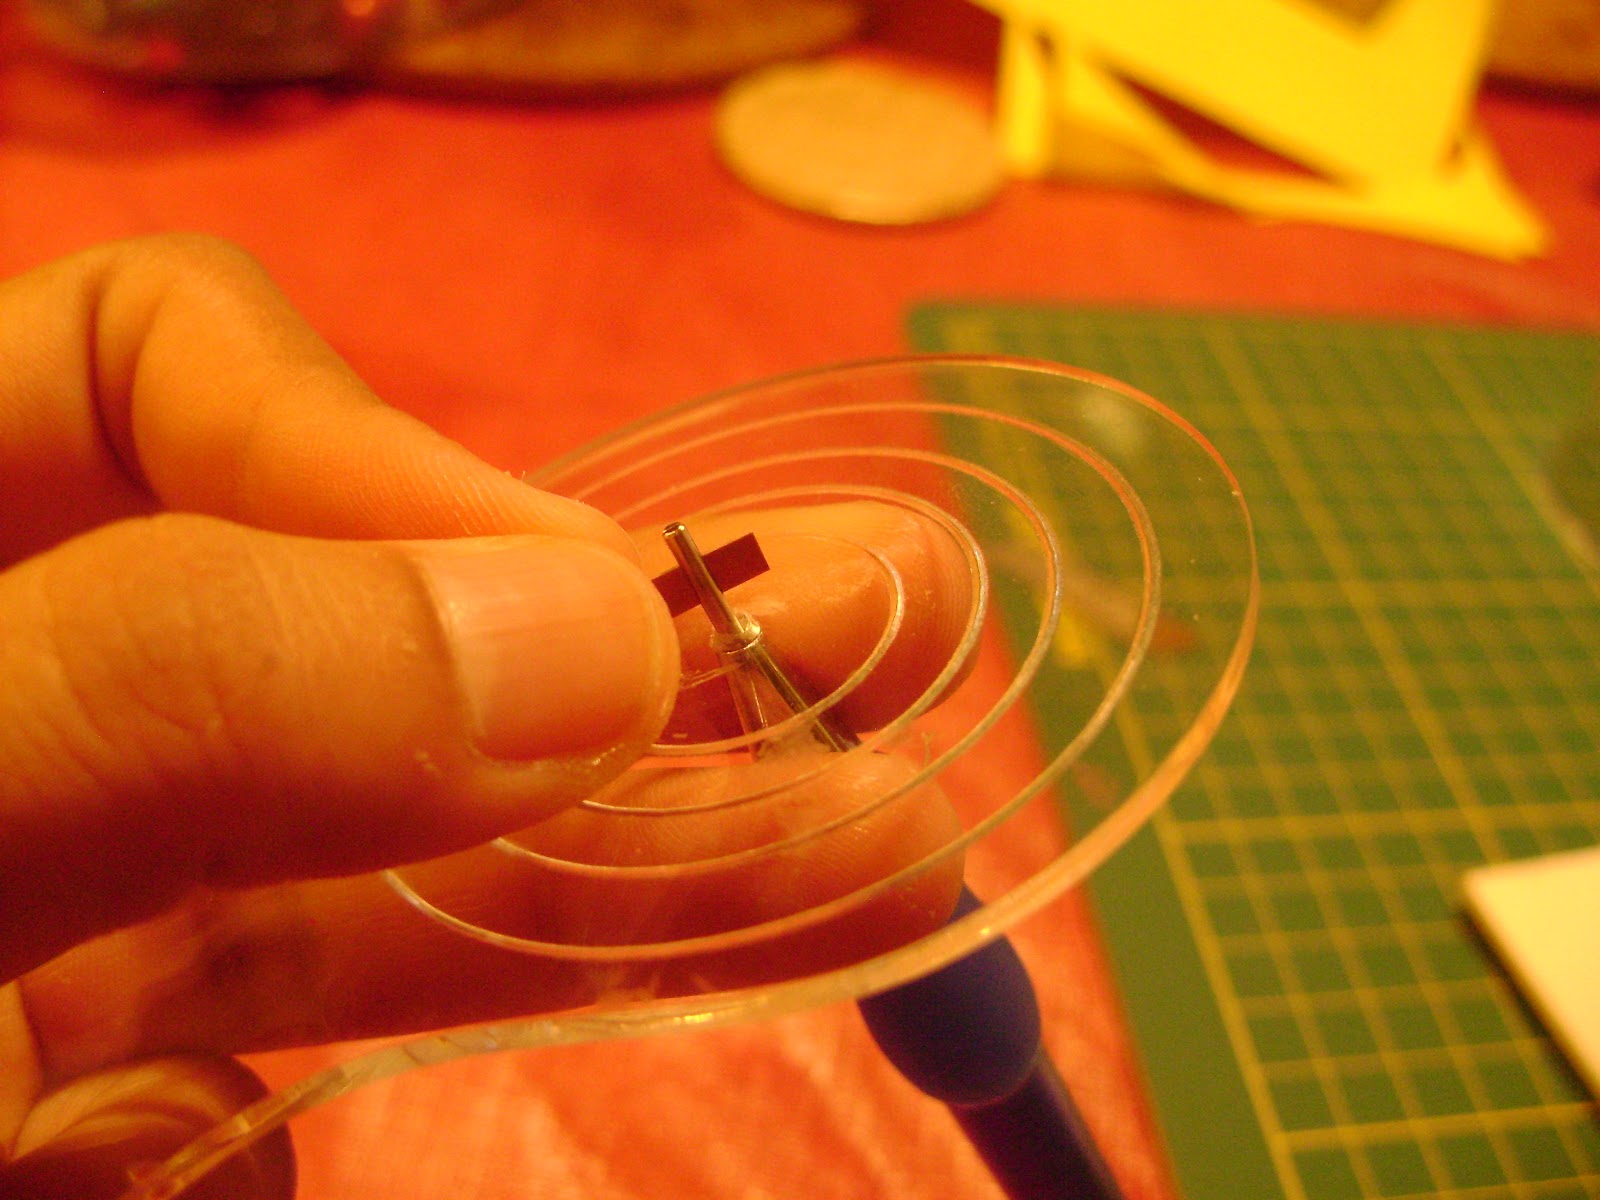
Now, hold the base like this (edge on a plain hard surface) and roll, like a wheel, to flatten out the edges from folding....
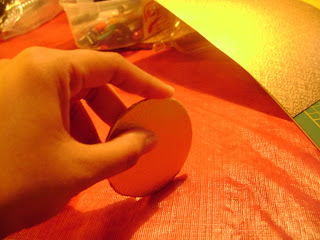
Oops, sorry for not rotating the figure! :-( Once again, make sure that the bell jar fits snug on the base.

Now, we start with the diya. I've taken 3 mm wide, 18 inches long bronze metallic strips, bought from Artystree. But you could choose any colour, as I ended up painting them gold after finishing the diya. I've joined 4 strips end-to-end, but you can decide the number based on how big your diya is going to be.

Here are the 4 strips, joined and ready to ROLL!

Using a slotted quilling tool, roll the strips, after sticking a small end into the slot. I preferred Quilling Coach for this as a flat roll is easy to handle. You can, in effect, do without it as well.

After you've finished rolling, glue the end and gently release the tight roll from the slotted tool.

The tight roll, which will be the lower end of the diya is ready :-)

Using anything with a rounded end (I've used the bottle of my red card glitter), gently mould the roll, pushing the edges of the roll downward with your fingers.

Sharpen the core a little, using the quilling tool.

The lower part is ready. :-)

Fill the inner part with glue and spread it with your finger.

Allow to dry completely.

For making the stem, I have taken a 3 cm wide bronze paper (160 gsm) strip.

Soften out its edge using your nail and roll it using a needle tool

This is how the rolled paper will look.

Cut off the excess (you can measure how much you need to roll, w.r.t. the top of the lower part of the diya. The rolled stem should fit exactly there. Glue the stem to the lower part and allow to dry.

Similar to the base, make a same size roll for making the top of the diya.

Mould it gently, as you did for the base. Keep this a little shallow as this is the part that has the oil, wicks and flame on it.

I made a one strip (18 inches) 'connector' for the top and the stem. It's purely optional and you can decide whether you want it.

To make the 'oil', I mixed glue with gold acrylic paint.

Mix it with toothpick and fill it in the top bowl of diya.

For making the wicks, I have used a 1.5 mm hand-cut white strips (160 gsm white paper).

Make about 5-6 mm long piece and stick them in the glue+gold 'oil' carefully, preferably using a forceps.

Here are my five wicks, ready to be lit ;-)

To make the 'flames', I've glued an 8 cm orange paper strip (3 mm width) to a 16 cm yellow strip and started rolling from the orange end.

I kept the roll a little loose because I need to pinch it to a teardrop shape. You can avoid that if your hands are strong! :D Mine couldn't pinch a tight roll!

Pinch it to a teardrop and bend the pinched edge, to make it look like a flame.

Stick the flame to the wick and bingo! One flame is ready! I've stuck a small bronze 3D quilled cone in the centre as that is how our panchmukhi diyas usually look :-)

Stick the flames one by one to all five wicks.


Here, it is! READY! :-) Simple, isn't it?

And well well well.............this is the gift for Aadyaa Originals' 100th fan on Facebook, Olivia Ioana :-)

Happy Quilling!
PS: A handy tip for joining two quilling strips
PS: If my posts inspire you to create something on similar lines, I feel highly flattered. But please, do respect the effort I take in conceptualizing and executing, please give a direct link to my work when you are inspired by mine. Thanks for understanding........:-)
Finally, I am here with the long-promised tutorial! I apologize for having taken forever for it, but it really was a crazy busy time! This is also my entry to the "secret lady's challenge" :-)
In India, we have a tradition of lighting a lamp before all auspicious occasions, as a mark of banishing darkness and inviting the light of wisdom. With the festival of lights (Deepavali) approaching, the festive spirit was bound to catch up with me too! :-) And I had been toying with the idea of writing a tutorial for an eternity! So, here goes.......a panchmukhi diya (light in all directions) tutorial
Choose a piece of cardboard for the base. I have used a 500 gsm carton paper base, cut into a circle

I prefer to have my 3D pieces 'encased' properly, you can decide if that is what you need. I have used the top part of disposable plastic wineglasses (I don't drink anyway, hehehe) as the casing. The circumference of the wineglass served as a measure for cutting the base.

This is how the top part of the wineglass looks, like a bell jar.

Now, I wanted a rich background, so I've chosen an embossed gold paper for covering. The colours from Diwali in India are RICH, hence the gold :-)

Stick the circular base to the back of the paper (it's once sided gold paper).

Cut a circle, leaving about an inch of margin around the base.

Now make radial cuts, all along the circumference of the base carton.

Apply glue to them and start folding them in.

This is how it will look after you start folding them up.....

More than half done!

After the folding is over, stick a paper on top to keep all the folds in place. I haven't done a particularly good job here but I don't have a circle cutter or circle punch! (I think, I need to buy one soon!).

Now, hold the base like this (edge on a plain hard surface) and roll, like a wheel, to flatten out the edges from folding....

Oops, sorry for not rotating the figure! :-( Once again, make sure that the bell jar fits snug on the base.

Now, we start with the diya. I've taken 3 mm wide, 18 inches long bronze metallic strips, bought from Artystree. But you could choose any colour, as I ended up painting them gold after finishing the diya. I've joined 4 strips end-to-end, but you can decide the number based on how big your diya is going to be.

Here are the 4 strips, joined and ready to ROLL!

Using a slotted quilling tool, roll the strips, after sticking a small end into the slot. I preferred Quilling Coach for this as a flat roll is easy to handle. You can, in effect, do without it as well.
After you've finished rolling, glue the end and gently release the tight roll from the slotted tool.

The tight roll, which will be the lower end of the diya is ready :-)

Using anything with a rounded end (I've used the bottle of my red card glitter), gently mould the roll, pushing the edges of the roll downward with your fingers.

Sharpen the core a little, using the quilling tool.

The lower part is ready. :-)

Fill the inner part with glue and spread it with your finger.

Allow to dry completely.

For making the stem, I have taken a 3 cm wide bronze paper (160 gsm) strip.

Soften out its edge using your nail and roll it using a needle tool

This is how the rolled paper will look.

Cut off the excess (you can measure how much you need to roll, w.r.t. the top of the lower part of the diya. The rolled stem should fit exactly there. Glue the stem to the lower part and allow to dry.

Similar to the base, make a same size roll for making the top of the diya.

Mould it gently, as you did for the base. Keep this a little shallow as this is the part that has the oil, wicks and flame on it.

I made a one strip (18 inches) 'connector' for the top and the stem. It's purely optional and you can decide whether you want it.

To make the 'oil', I mixed glue with gold acrylic paint.

Mix it with toothpick and fill it in the top bowl of diya.

For making the wicks, I have used a 1.5 mm hand-cut white strips (160 gsm white paper).

Make about 5-6 mm long piece and stick them in the glue+gold 'oil' carefully, preferably using a forceps.

Here are my five wicks, ready to be lit ;-)

To make the 'flames', I've glued an 8 cm orange paper strip (3 mm width) to a 16 cm yellow strip and started rolling from the orange end.

I kept the roll a little loose because I need to pinch it to a teardrop shape. You can avoid that if your hands are strong! :D Mine couldn't pinch a tight roll!

Pinch it to a teardrop and bend the pinched edge, to make it look like a flame.

Stick the flame to the wick and bingo! One flame is ready! I've stuck a small bronze 3D quilled cone in the centre as that is how our panchmukhi diyas usually look :-)

Stick the flames one by one to all five wicks.

Now, stick all the flames and stick the diya to the golden base :-)

Here, it is! READY! :-) Simple, isn't it?

And well well well.............this is the gift for Aadyaa Originals' 100th fan on Facebook, Olivia Ioana :-)

Happy Quilling!
PS: A handy tip for joining two quilling strips
PS: If my posts inspire you to create something on similar lines, I feel highly flattered. But please, do respect the effort I take in conceptualizing and executing, please give a direct link to my work when you are inspired by mine. Thanks for understanding........:-)
14 comments:
Lovely Dhiya and a wonderful tutorial Pritesh
Wow,very lovely!!u've got a gr8 patience...
Thanks Sathya and Geethu :-)
very nice and thanks for your detailed tutorial.
Hey this is really great! Such tutorials really inspire the novice quillers like me.Thanks so much for sharing :)
Fantastic and lovely tutorial!
Cheers from Bangalore ,India
Dr Sonia S V
http://cardsandschoolprojects.blogspot.com
Thanks Suganthi and Sonia :-) If I am able to inspire you Rahee, I think the purpose of my tutorial is served :-)
Superb idea, very innovative !
Thank you Anita! :-)
I really enjoyed this tutorial.
Thank you
such a creative idea..thnks 4 the tutorial..greetings from kolkata, India
http://wwwpile-of-craft-khusboo.blogspot.com/
such a beautiful idea..and the tutorial is so clear..greetings from Kolkata,India
http://wwwpile-of-craft-khusboo.blogspot.com/
Thanks Teddie and Khusboo :-)
God bless u lady. Super job...very very nice. No doubt yr work is inspiring. Congratulations.
Post a Comment