Sunday, March 31, 2013

Bidding Adieu

Time has come for me to part ways with Aadyaa Originals. I will be taking a short break from work but will be continuing with my Art endeavours independently, post this break.

For all queries related to Aadyaa Originals' products, please write to sales@aadyaa.com or visit http://facebook.com/aadyaaoriginals 

Please feel free to contact me on my personal e-mail ID pritzd@gmail.com and my phone number remains the same: 9096421638.

Tuesday, March 19, 2013

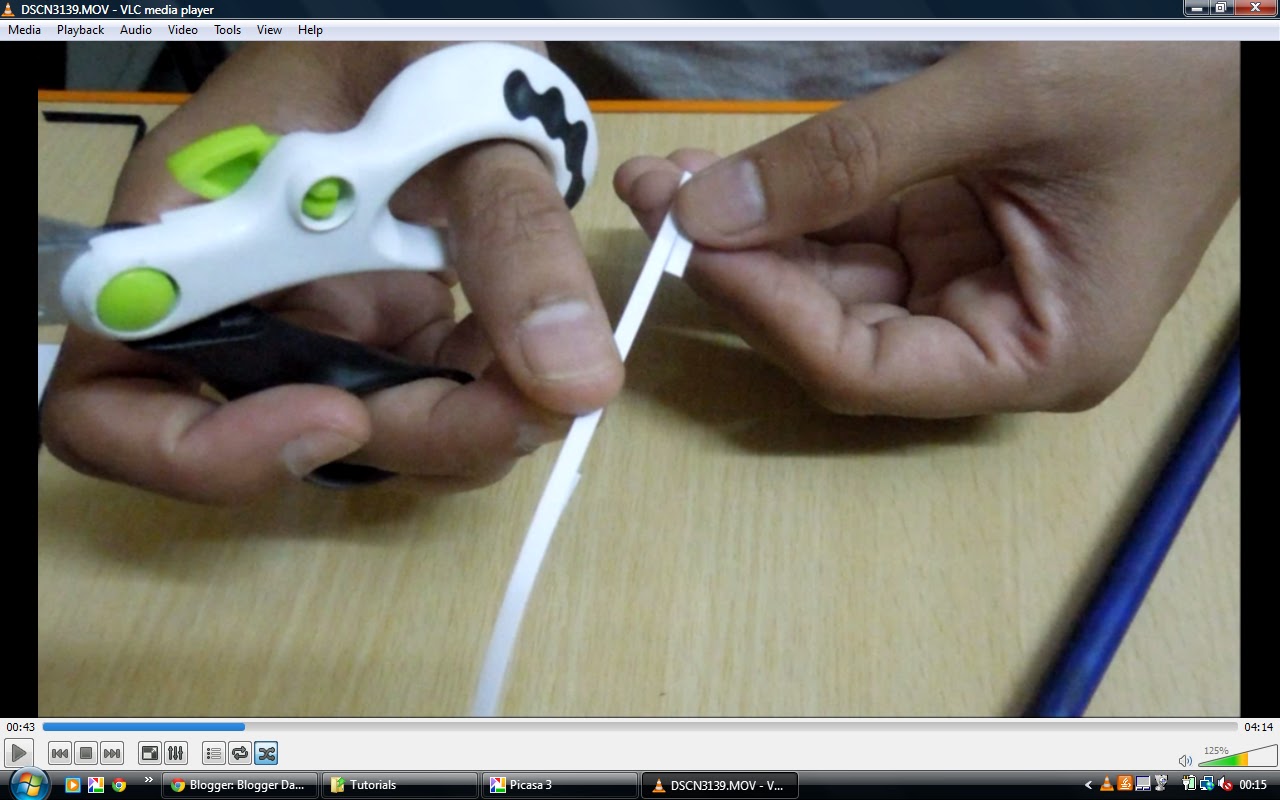
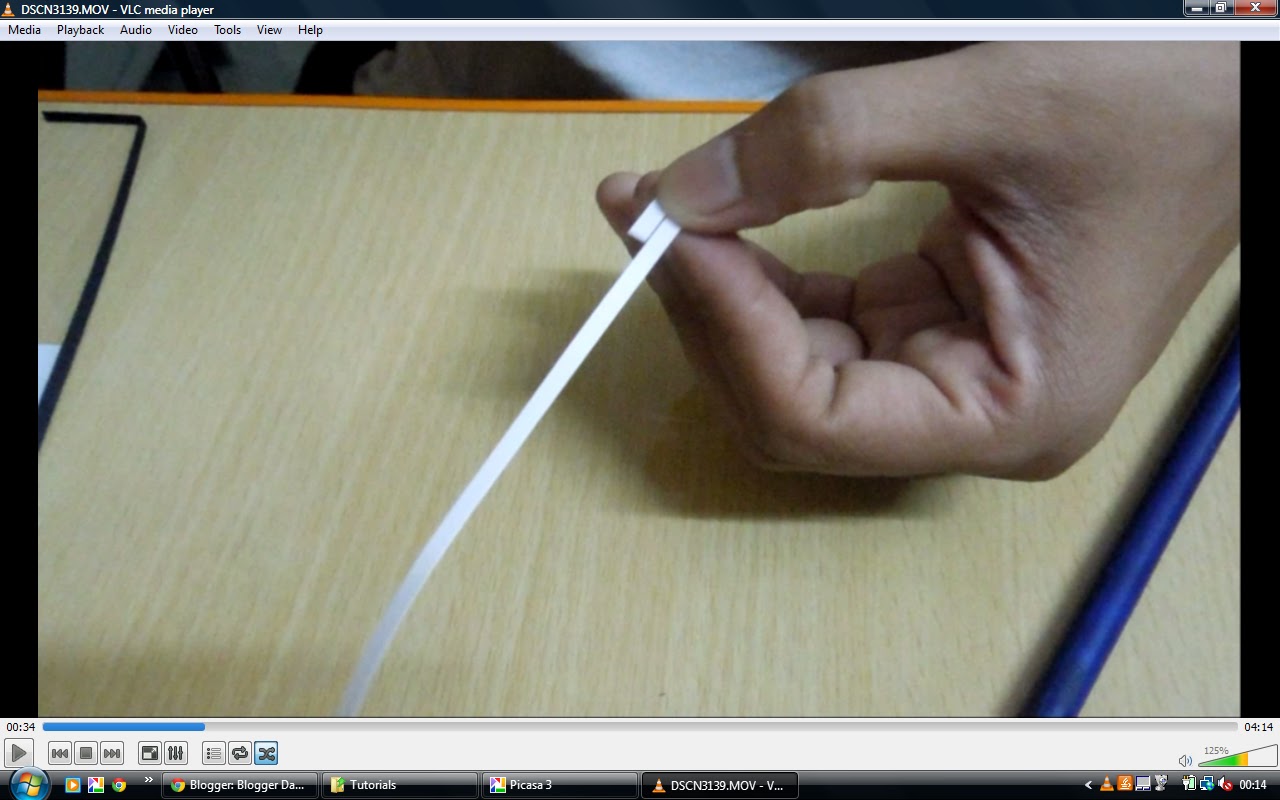
Tutorial: Quillography style symmetric flower

Hello All,

While it is still fresh in the memory, here was the album I made using microquilling:


Lots of people askied me how I made that flower. Well, I don't know how it is supposed to be made but here is my take on making this flower :)


For those with unstable/slow Internet connections, here are the snapshots :)


Happy Quilling

Pritesh

PS: If my posts inspire you to create something on similar lines, I feel highly flattered. But please, do respect the effort I take in conceptualizing and executing, please give a direct link to my work when you are inspired by mine. Thanks for understanding........:-)

Friday, March 15, 2013

Microquilling.........a tough but enjoyable experiment

Hello All,

I am back after an eternity...................apologies. I haven't been well and then, there was tons to catch up on. And there has been a bit of restructuring of my life. More is to come but due news will be posted as and when there is something to post about :)

One fine day, I get a call from Delhi, an enquiry for a quilled album cover. And the client was very clear about what she wanted me to do. She sent me example photos and told me exactly how the cover had to be made. All good. I asked about the size, it was 6" x 6". Ahan! For a change, I get an offer for a 'small' project (basically, my mind refuses to function while working with anything smaller than 10" x 10")......I agree. The album cover was sent to me by courier and imagine my shock! The 6" x 6" was the "total" area of the album. It has rivets on it AND the area where I had to write text was a mere 2.5" x 2.5"!!!!! I nearly considered telling my client I can't do it but then comes Katarzyna (whom I lovingly call Kate) with her coffee inchies, to prompt me into believing that I could do it. She even came up with a cute name for it: Microquilling! Oh boy, you can't really beat a scientist out of me (not yet, at least) :D

I rolled my sleeves up and got started! But well, the reference images the client had sent me were Yulia's work! And it is NO joke to emulate that. I was honestly reluctant to even attempt it because of my inherent respect for people's originality........so, I just cursorily looked at the images and set off on my own! Luck had never presented an opportunity for me to try alphabets in this style and I did try it. I can't say I am happy with them but a 2.7 cm by 1.7 cm alphabet is hardly a place for me to try to boost my confidence! :( I must attempt something bigger soon :)

After a lot of back and forth with the client and "editing" in quilled text (my first actually), the piece is complete. It's a 60th B'day gift for my client's father! I sure hope he likes it as I've never before spent 11 hours in making a piece that fits in my palm :) (none of my projects so far have had the fortune to fit in my palm really :D)........

I couldn't stop clicking the images and hence, the barrage :D


I love microquilling for the fact that the entire project took precisely 23 A4 size strips AND 11 hours of work :) Fascinating, isn't it? And even more, my sister thought that those "blue streaks" were pencil shading! I think, THAT is crowning glory :) :)


Happy Quilling

Pritesh

PS: If my posts inspire you to create something on similar lines, I feel highly flattered. But please, do respect the effort I take in conceptualizing and executing, please give a direct link to my work when you are inspired by mine. Thanks for understanding........:-)

Friday, March 8, 2013

Ever watchful, ticking away

Hello All,

I meant to keep this post very short but there is so much to say about this project..........so here goes my 'story' with this project :)

When an eye doctor approached me for a "piece" for her clinic, a hunt for a thought started. She narrowed it down to a clock! Step 1 out of my way. But I realized later that that was a very small step! My fancy took flight and I thought, Voila, why not an eye shaped clock! I proposed the idea and my client (oh dear, she's a friend now!) liked it. I made a sketch (and you'll see how crude it was) and sent it to her. Approval! Good good......

But all was good until I got started. Finding a carpenter who would saw a frame that shape was a task tougher than I thought. My usual framing guy said a flat no. And then, serendipity steps in. I was just walking past a plywood shop and decided to walk in to enquire. The carpenter looked doubtful (and almost eyed me with the "Are you mad or something?" looks) but he agreed to trying it out. He wouldn't, but, draw the shape. So, there I was, with my son's sketch pen and a piece of wood in front of me, drawing a crude eye. Thanks to a sketching background, it soon began to look like an eye. The carpenter was unimpressed though. A couple of corrections and a bit of back and forth later, he gave me the frame. Ahan! Looked exciting.

Next step...........the iris. I needed a template. Google is always God Rescue! I googled, liked something, downloaded and printed. But somehow, it just didn't feel right. And trust me, I have NEVER spent this much time on deciding upon a colour scheme for any project. At one time, I was tempted to call my client to tell her I can't do this. It just wasn't happening. But then, I have a miraculous circle of friends and one of them has the most mesmerizing eyes ever! A call to her and she agreed to sending a close-up image of her eyes. She did, God bless her and I finally took off. Paint was bought, outlines were painted.......and bingo! I didn't have the required colour background :( No project of mine has EVER faced this many hurdles........

But then, those impressive Daler Rowney and Faber Castell pencil colour sets came to rescue. Almost 10 iterations later, I had the colours I wanted. Neha honey, your eyes are magic, until I had to draw them! :D :D

At the last step, namely, painting the lashes, came the viral infection!! The worst I've ever had. 3 days in bed, nursing a horrible cold and cough. The cough got so bad that my throat was parched and my ribs ached from the non-stop coughing. With shaky hands, I managed to paint the lashes and add the clock hands. The clock now sits safely in the client's house but this piece will always remain memorable to me. Not because I think it's particularly well made but because I did EVERYTHING in it myself, except the frame cutting and glass polishing. The lashes have been cut from an aluminium sheet using a heavy duty sheet cutter, I fixed the clamps myself (for holding the glass), hammered the lashes in place, painted every single square inch myself. But this piece will also remain a reminder of how it shook my confidence. I think, once in a while, it is necessary to get these kind of pieces to scare yourself into non-belief and then, learn to conquer self-doubts. I sincerely want to thank my husband, who would just not relent and push me farther for doing the best I could with this project. Any idea which he didn't think was up to the mark was ruthlessly scrapped. If not for his honest feedback, the project would've looked very different from how it looks now :) A HUGE thanks to Neha, for the image of her eyes :) And to Karishma, for putting up with the delays and allowing me the freedom to choose how I work on this project........

And after all the banter, here is the image of the ever watchful eye, ticking away to glory :) The clock measures 25 inches in width (eye lashes are extra) and ~ 12 inches in height (eye lashes extra). It is a lousy photo, I know but this was all I could manage with having somehow finished it in time, in spite of the illness. I don't know how clear it is from this image but the pupil is beehived in chocolate brown colour with the white 'reflection' in beehive too. The 'lines' jutting out radially inwards and outwards are 160 gsm black, green and brown paper, tapered to create an iris-like effect :)


Now, some work-in-progress photos :)

1. The "crude" sketch :D


2. The 'frame' (after the carpenter probably gave up on me as a nut case)


3. What I had initially planned to make (but it just didn't feel right!)


4. With the sketching and pupil done....


5. The 3, 6, 9 and 12 are outlined


6. The eye lashes attached, but not yet painted.....


Happy Quilling

Pritesh

PS: If my posts inspire you to create something on similar lines, I feel highly flattered. But please, do respect the effort I take in conceptualizing and executing, please give a direct link to my work when you are inspired by mine. Thanks for understanding........:-)

Wednesday, February 27, 2013

A few pounds of grey matter

Hello All,

It is not every day that one gets to lay one's hands on something creepy and enjoy it! :D When Gautam requested a frame for his wife's PhD thesis defence, he gave the suggestions as well, he wanted either a brain or a neuron quilled. Task reduced! :) All it took was to take a reference picture (I can't for the life of me draw a brain correctly freehand!). I used an image created by John de Rosier as reference...........the background for the image is from a University's website (I was stupid enough to not save a reference) :(

Making these few pounds of grey matter with quilling was a totally different ball game!!!! The folds of the brain are tricky, the lines wind and straighten out and then, wind again.......as if it wasn't enough, the time on hand for making the entire project was a mere 20 hrs (sleeping, eating, quilling and dispatching the courier included!). As the project began to take shape, I actually shuddered every once in a while as this was 2-3 am and I was working alone! :D Hardly anything creeps me out like that but the pinks of the brain kept making me think of Hannibal! Eww! The reds in the project are not paper strips :) The only thing that looked good there was shading with a gel pen, so nearly an hour was spent on the shading part alone :)

A sleepless night later, this is how the project looked :) Gautam liked how it turned out and this project was a gift for his wife's PhD completion :) Congratulations Dr. Aparna :)


In this project, a LARGE credit for delivering in time goes to the courier agent, Fairdeal Couriers. They packaged it REALLY safely, helped with minimizing of the volume of packaging and delivered to USA promptly in 3 days' time. Heavily recommended for those living in Pune. The owner of the company is super approachable, personal attention was paid to packaging and they don't try to rip you off (they actually pitch in with suggestions about how you can reduce the weight and volume of your packages) :) What more can one ask for?

Happy Quilling

Pritesh

PS: If my posts inspire you to create something on similar lines, I feel highly flattered. But please, do respect the effort I take in conceptualizing and executing, please give a direct link to my work when you are inspired by mine. Thanks for understanding........:-)

Friday, February 15, 2013

Say Cheese!

Hello All,

Someone said, I like the swooshing sound deadlines makes when they zoom past! Ah well, that's the sound I dread the most and avoid like plague! But right now, looks like all projects have decided to sneak upon me and the swoosh is getting closer to my ear! In the middle of this mania, there does come one project which leaves me happy, which gets over in time and which allows me to write a post for it :)

This project was particularly challenging because it is meant for a professional photographer. I don't know if this is a more universal phenomenon but I get 10 times more self-conscious when my pieces are gifted to people who are in some creative field. It's almost as if I imagine them with a magnifying glass in their hand, looking for that tiny gap in paper strip measurement or that dried glue dollop which ought not to be there. You might call me crazy but when this one came to me, I was not sure what to make. The recipient profile: Professional photographer, Introvert, Fiercely private, Simple................ooh la la. Makes my job tougher. After breaking my head with the concept for a few days, it finally struck, make a photographer for a photographer :)

Simple and oh so obvious (now that I think back)..........So, here goes from my client to a photographer. I hope the recipient likes it :)


The photographer girl image is from Microsoft Clipart gallery, it is not my creation. I have merely used it as a template for quilling (with my own brand of modifications, of course) :)


The font used in this project (Adine Kirnberg) was a specially tricky one to handle. It thins down so much in places that I had difficulty sticking beehive coils into it. But then, what is the fun if everything comes easy? :) The little tulips were almost an afterthought as there has to be a feminine graceful touch to a lady photographer who does magic with her fingers and eyes :)

Minus the frame, the project is 9.5" x 18.5". With frame, it is 11" x 20"
:-) I can never seem to lay my hands on small projects :-D

Happy Quilling

Pritesh

PS: If my posts inspire you to create something on similar lines, I feel highly flattered. But please, do respect the effort I take in conceptualizing and executing, please give a direct link to my work when you are inspired by mine. Thanks for understanding........:-)

Thursday, February 14, 2013

Happy Valentine's Day - Two times over

Hello All,

A quick post to finally announce the two Valentine's Day frames, made to order by Aadyaa Originals.......hope you like it :)


Happy Quilling

Pritesh

PS: If my posts inspire you to create something on similar lines, I feel highly flattered. But please, do respect the effort I take in conceptualizing and executing, please give a direct link to my work when you are inspired by mine. Thanks for understanding........:-)
Wednesday, February 6, 2013

Mesothelioma awareness

Hello All,


This is a truly offbeat (and very belated) post, quite unlike what I normally post. I was approached by Heather Von St. James, a strong and determined survivor, to post about Mesothelioma. She is hoping to bring knowledge to people so that the chances of survival of the patients of this disease go up.

I wish I had had the time to post this on 4th February but better late than never. This blog-post is dedicated to awareness towards Mesothelioma, a rare type of cancer. I will copy what Wikipedia has to say below (as I am no authority on the subject).


Mesothelioma (or, more precisely, malignant mesothelioma) is a rare form of cancer that develops from transformed cells originating in the mesothelium, the protective lining that covers many of the internal organs of the body. It is usually caused by exposure to asbestos.[1]
The most common anatomical site for the development of mesothelioma is the pleura (the outer lining of the lungs and internal chest wall), but it can also arise in the peritoneum (the lining of the abdominal cavity), and the pericardium (the sac that surrounds theheart),[2] or the tunica vaginalis (a sac that surrounds the testis).
Most people who develop mesothelioma have worked in jobs where they inhaled asbestos, or were exposed to asbestos dust and fibers in other ways. It has also been suggested that washing clothes of a family member who worked with asbestos increases their risk for developing mesothelioma.[3] Unlike lung cancer, there seems to be no association between mesothelioma and tobaccosmoking, but smoking greatly increases the risk of other asbestos-induced cancers.[4] Some people who were exposed to asbestos have collected damages for asbestos-related disease, including mesothelioma. Compensation via asbestos funds or class action lawsuits is an important issue in law practices regarding mesothelioma (see asbestos and the law).
Signs and symptoms of mesothelioma include shortness of breath due to pleural effusion (fluid between the lung and the chest wall) or chest wall pain, and constitutional signs such as unexplained weight loss. The diagnosis may be suspected with chest X-ray and CT scan, but must be confirmed pathologically, either with serous effusion cytology or with a biopsy (removing a sample of the suspicious tissue) and microscopic examination. A thoracoscopy (inserting a tube with a camera into the chest) can be used to acquire biopsy material, and allows the introduction of substances such as talc to obliterate the pleural space (a procedure called pleurodesis), preventing more fluid from accumulating and pressing on the lung. Despite treatment with chemotherapyradiation therapy or sometimes surgery, the disease carries a poor prognosis. Research about screening tests for the early detection of mesothelioma is ongoing.


Heather Von St. James writes her own blog on this link and this is one of the most inspiring and empowering links I have come across ever. Do spread the word through your blogs, forwards, FB etc., specially to those people who work in the proximity of asbestos processing plants etc.

Let's increase awareness and lower the mortality rate of mesothelioma........

Wishing everyone happy health and safe and healthy life

Pritesh

Tuesday, February 5, 2013

Dhishkyaon - a quilled photo, my first

Hello All,

Whenever something new comes my way, it gets me excited. But it isn't always that I get to accomplish it as soon as I'd like to. When I was asked to make a quilled picture, I had no idea how much work will go into it and how complicated it will turn out to be. The photo itself needed special editing to make it quilling compatible. And I wanted to use beehive technique to pull it off. This considerably increased the size I had to work on. The final picture ended up being 10 inch by 10 inch but I'm not complaining. After endless beehiving, here is the work that has kept me busy for a long long time.......


Thank you Shylashree, for egging me on to post. As I had said, now there'll be a flurry of posts for coming two weeks :)

Happy Quilling

Pritesh

PS: If my posts inspire you to create something on similar lines, I feel highly flattered. But please, do respect the effort I take in conceptualizing and executing, please give a direct link to my work when you are inspired by mine. Thanks for understanding........:-)

Simple punch craft flower tutorial - Video

Hello All,

A quick post (and my maiden one from phone) with a video for making a simple punch craft flower using a daisy punch. This is the flower I made for this frame:


Happy Quilling

Pritesh

PS: If my posts inspire you to create something on similar lines, I feel highly flattered. But please, do respect the effort I take in conceptualizing and executing, please give a direct link to my work when you are inspired by mine. Thanks for understanding........:-)